NUC를 이용한 룬락 설치방법입니다 :)
홈페이지에있는 내용 보고 작성한것이니 참고해주시면 감사하겠습니다.
진행순서는 그냥 붉은 글씨만 읽으시면 됩니다.
ROCK Install Guide (roonlabs.com)
ROCK Install Guide
Roon Optimized Core Kit (ROCK) comes with a “factory reset” disk image, which is meant to be flashed onto a USB flash drive. When the device is booted from this USB flash drive it will partition, format, and initialize your SSD. 1. Prepare your NUC's .
help.roonlabs.com
ROCK Install Guide
Roon Optimized Core Kit (ROCK) comes with a “factory reset” disk image, which is meant to be flashed onto a USB flash drive. When the device is booted from this USB flash drive it will partition, format, and initialize your SSD.
Roon 최적화 코어 키트 (ROCK)는 USB 플래시 드라이브에 플래시하기위한 "공장 초기화"디스크 이미지와 함께 제공됩니다. 이 USB 플래시 드라이브에서 장치를 부팅하면 SSD를 분할, 포맷 및 초기화합니다.
1. Prepare your NUC's hardware
NUC 하드웨어를 준비해줍니다.
① 128gb보다 큰 M.2과 4Gb이상 램
② 모니터 키보드 연결 필수
③ USB지원 및 인터넷되는 컴퓨터
④ USB (룬락설치부팅용)
Install a 128GB or larger SSD into the M.2 Slot
· Install 4GB or more of RAM
· Optionally, install a 2.5" internal SATA disk. You can only use 1, so don't bother with more
· For more information about storage options for use with ROCK, see here
· Plug in a monitor and keyboard. Mouse can be helpful configuring your BIOS, but it is not required
· M.128 슬롯에 2GB 이상의 SSD 설치
· 4GB 이상의 RAM 설치
· 선택적으로 2.5" 내부 SATA 디스크를 설치합니다. 1 개만 사용할 수 있으므로 더 이상 신경 쓰지 마십시오.
· ROCK과 함께 사용할 스토리지 옵션에 대한 자세한 내용은 여기를 참조하십시오.
· 모니터와 키보드를 연결합니다. 마우스는 BIOS를 구성하는 데 도움이 될 수 있지만 필수는 아닙니다.
At this point, there's no operating system on the NUC, but it should boot and you should see the Intel welcome/splash screen. Note that this screen should also have the correct keyboard shortcuts for entering BIOS which you'll need in Step 2.
이 시점에서 NUC에는 운영 체제가 없지만 부팅되어야 하며 인텔 시작/시작 화면이 표시됩니다. 이 화면에는 2단계에서 필요한 BIOS로 들어가기 위한 올바른 키보드 단축키도 있어야 합니다.
Before moving forward, note that you will also need:
· An existing internet-connected computer (Mac, Windows, or Linux) with a USB port
· A USB flash drive.
계속 진행하기 전에 다음이 필요합니다.
· USB 포트가 있는 기존 인터넷 연결 컴퓨터(Mac, Windows 또는 Linux)
· USB 플래시 드라이브
2. Prepare your NUC's BIOS
준비한 NUC 하드웨어의 바이오스 세팅을 해줍니다. (설정링크)
This step is required for ROCK to function properly. To update the BIOS on your NUC, follow the instructions here.
이 단계는 ROCK이 제대로 작동하는 데 필요합니다. NUC에서 BIOS를 업데이트 하려면 여기 지침을 따르십시오.
3. Download
룬락 설치 이미지 파일 다운받기.
[공식 Roon Rock 이미지 설치 다운 링크]
https://download.roonlabs.net/builds/roonbox-linuxx64-nuc4-usb-factoryreset.img.gz
To install ROCK, you will first need to download the factory reset disk image to another computer (like a Windows PC or a Mac). You can download the image from here. After the download, this file has an extension of ".img.gz" -- you do not need to decompress/unzip it.
ROCK을 설치하려면 먼저 공장 초기화 디스크 이미지를 다른 컴퓨터(예: Windows PC 또는 Mac)에 다운로드해야 합니다. 여기에서 이미지를 다운로드할 수 있습니다. 다운로드 후 이 파일의 확장자는 ".img.gz"이므로 압축을 풀거나 압축을 풀 필요가 없습니다.
4. Writing to a USB flash drive (from a second computer, not the NUC):
3번에서 다운 받은 이미지파일을 https://etcher.io/ 또는 Rufus을 프로그램을 통해서 룬설치 및 부팅 USB를 만들어줍니다. (저는 etcher 으로 진행했습니다) 여기까지 오셨으면 거진 다 끝났습니다.
Now that you've downloaded the image to another computer, you will need to write this image to a USB flash drive. You can do this by using Etcher or by using the Linux Command Line as noted below:
이제 이미지를 다른 컴퓨터에 다운로드했으므로 이 이미지를 USB 플래시 드라이브에 써야 합니다. Etcher를 사용하거나 아래에 설명된 대로 Linux 명령줄을 사용하여 이 작업을 수행할 수 있습니다.
Option 1: Windows / Mac OS / Linux
1. Plug in your USB flash drive (it must be larger than the factory reset imagesize -- 1GB is more than enough)
2. Download and install Etcher from https://etcher.io/
3. Start Etcher
4.From the Etcher application interface, select your `.img.gz` file as "the image"
5.From the Etcher application interface, select your USB flash drive as "the drive"
6.Click on "Flash!
7.Note: If you are having any issues flashing with Etcher, you can also try Rufus Rufus
1.USB 플래시 드라이브를 연결합니다 (공장 초기화 이미지 크기보다 커야합니다. 1GB이면 충분합니다)
2. https://etcher.io/ 에서 Etcher 다운로드 및 설치
3. 에처 시작
4. Etcher 응용 프로그램 인터페이스에서 '.img.gz'파일을 "이미지"로 선택하십시오.
5. Etcher 응용 프로그램 인터페이스에서 USB 플래시 드라이브를 "드라이브"로 선택하십시오.
6. 클릭 "플래시!"
7. 참고 : Etcher로 깜박이는 데 문제가있는 경우 Rufus를 사용해 볼 수도 있습니다.
Option 2: Linux Command Line
1. Uncompress your .img.gz file by running `gzip -d roonbox-linuxx64-nuc4-usb-factoryreset.img.gz`, which will leave you with a `.img` file
2. Plug in your USB flash drive (it must be larger than the factory reset image size -- 1GB is more than enough)
3. Run `sudo dmesg` to determine the device name given to your USB flash drive. It will be something like `/dev/sdb`
4. Unmount any directory your flash drive was mounted to
5. Run `sudo dd bs=10485760 if=roonbox-linuxx64-nuc4-usb-factoryreset.img of=/dev/sdb` (replace “`sdb`” with the appropriate device name). This can take a few minutes, depending on the speed of your USB flash drive
1. 'gzip -d roonbox-linuxx64-nuc4-usb-factoryreset.img.gz'를 실행하여 .img.gz 파일의 압축을 풀면 '.img'파일이 남습니다.
2. USB 플래시 드라이브를 연결합니다 (공장 초기화 이미지 크기보다 커야합니다. 1GB이면 충분합니다)
3. 'sudo dmesg'를 실행하여 USB 플래시 드라이브에 지정된 장치 이름을 확인합니다. 그것은 '/ dev / sdb'와 같은 것입니다.
4. 플래시 드라이브가 마운트된 디렉토리를 마운트 해제
5. 'sudo dd bs=10485760 if=roonbox-linuxx64-nuc4-usb-factoryreset.img of=/dev/sdb'를 실행합니다("'sdb'"를 적절한 장치 이름으로 바꿉니다). USB 플래시 드라이브의 속도에 따라 몇 분 정도 걸릴 수 있습니다.
5. Installing
① NUC의 전원이 꺼진상태에서 USB를 꽂아주고 재부팅해줍니다.
② 부팅설정을 해놓았다면 자동으로 USB로 부팅이 될거고 아니면 F10 키를눌러 부팅메뉴에서 USB로 부팅을 해줍니다.
③ 알아서 설치가 진행됩니다.
④ 설치가 끝나면 엔터를쳐서 재부팅을 해주고 USB는 제거해줍니다.
⑤ NUC는 룬락의 코어로서만의 역할만 하게되니 이제 모니터와 키보드도 분리하셔도됩니다.
※ 바로 실행해보셔도 되지만 코덱(필수)과 소프트웨어 업데이트(있다면)도 같이 진행해주셔야합니다.
1. off your NUC
2. Unplug any USB storage you might have plugged into it. You can plug it back in after your install
3. Insert the USB flash drive you prepared earlier into the front of the NUC
4. Turn on the NUC and press the F10 key on your keyboard. Continue to hold the F10 key down until you appear at a menu that is asking you which device you'd like to boot from
5. Select the USB flash drive
6. Follow the instructions to install the Roon OS. This procedure can take a few minutes, depending on the performance of your USB flash drive and the SSD to which you are installing
7. Once it is done installing, unplug the USB flash drive and hit ENTER to reboot
8. On the next boot, don't hold F10. Your NUC should boot from the SSD, and a few seconds later, you should see a Roon message displaying the IP address of the NUC. This IP address should be entered in a web browser (on another computer) in order to complete ROCK setup (installing Codecs)
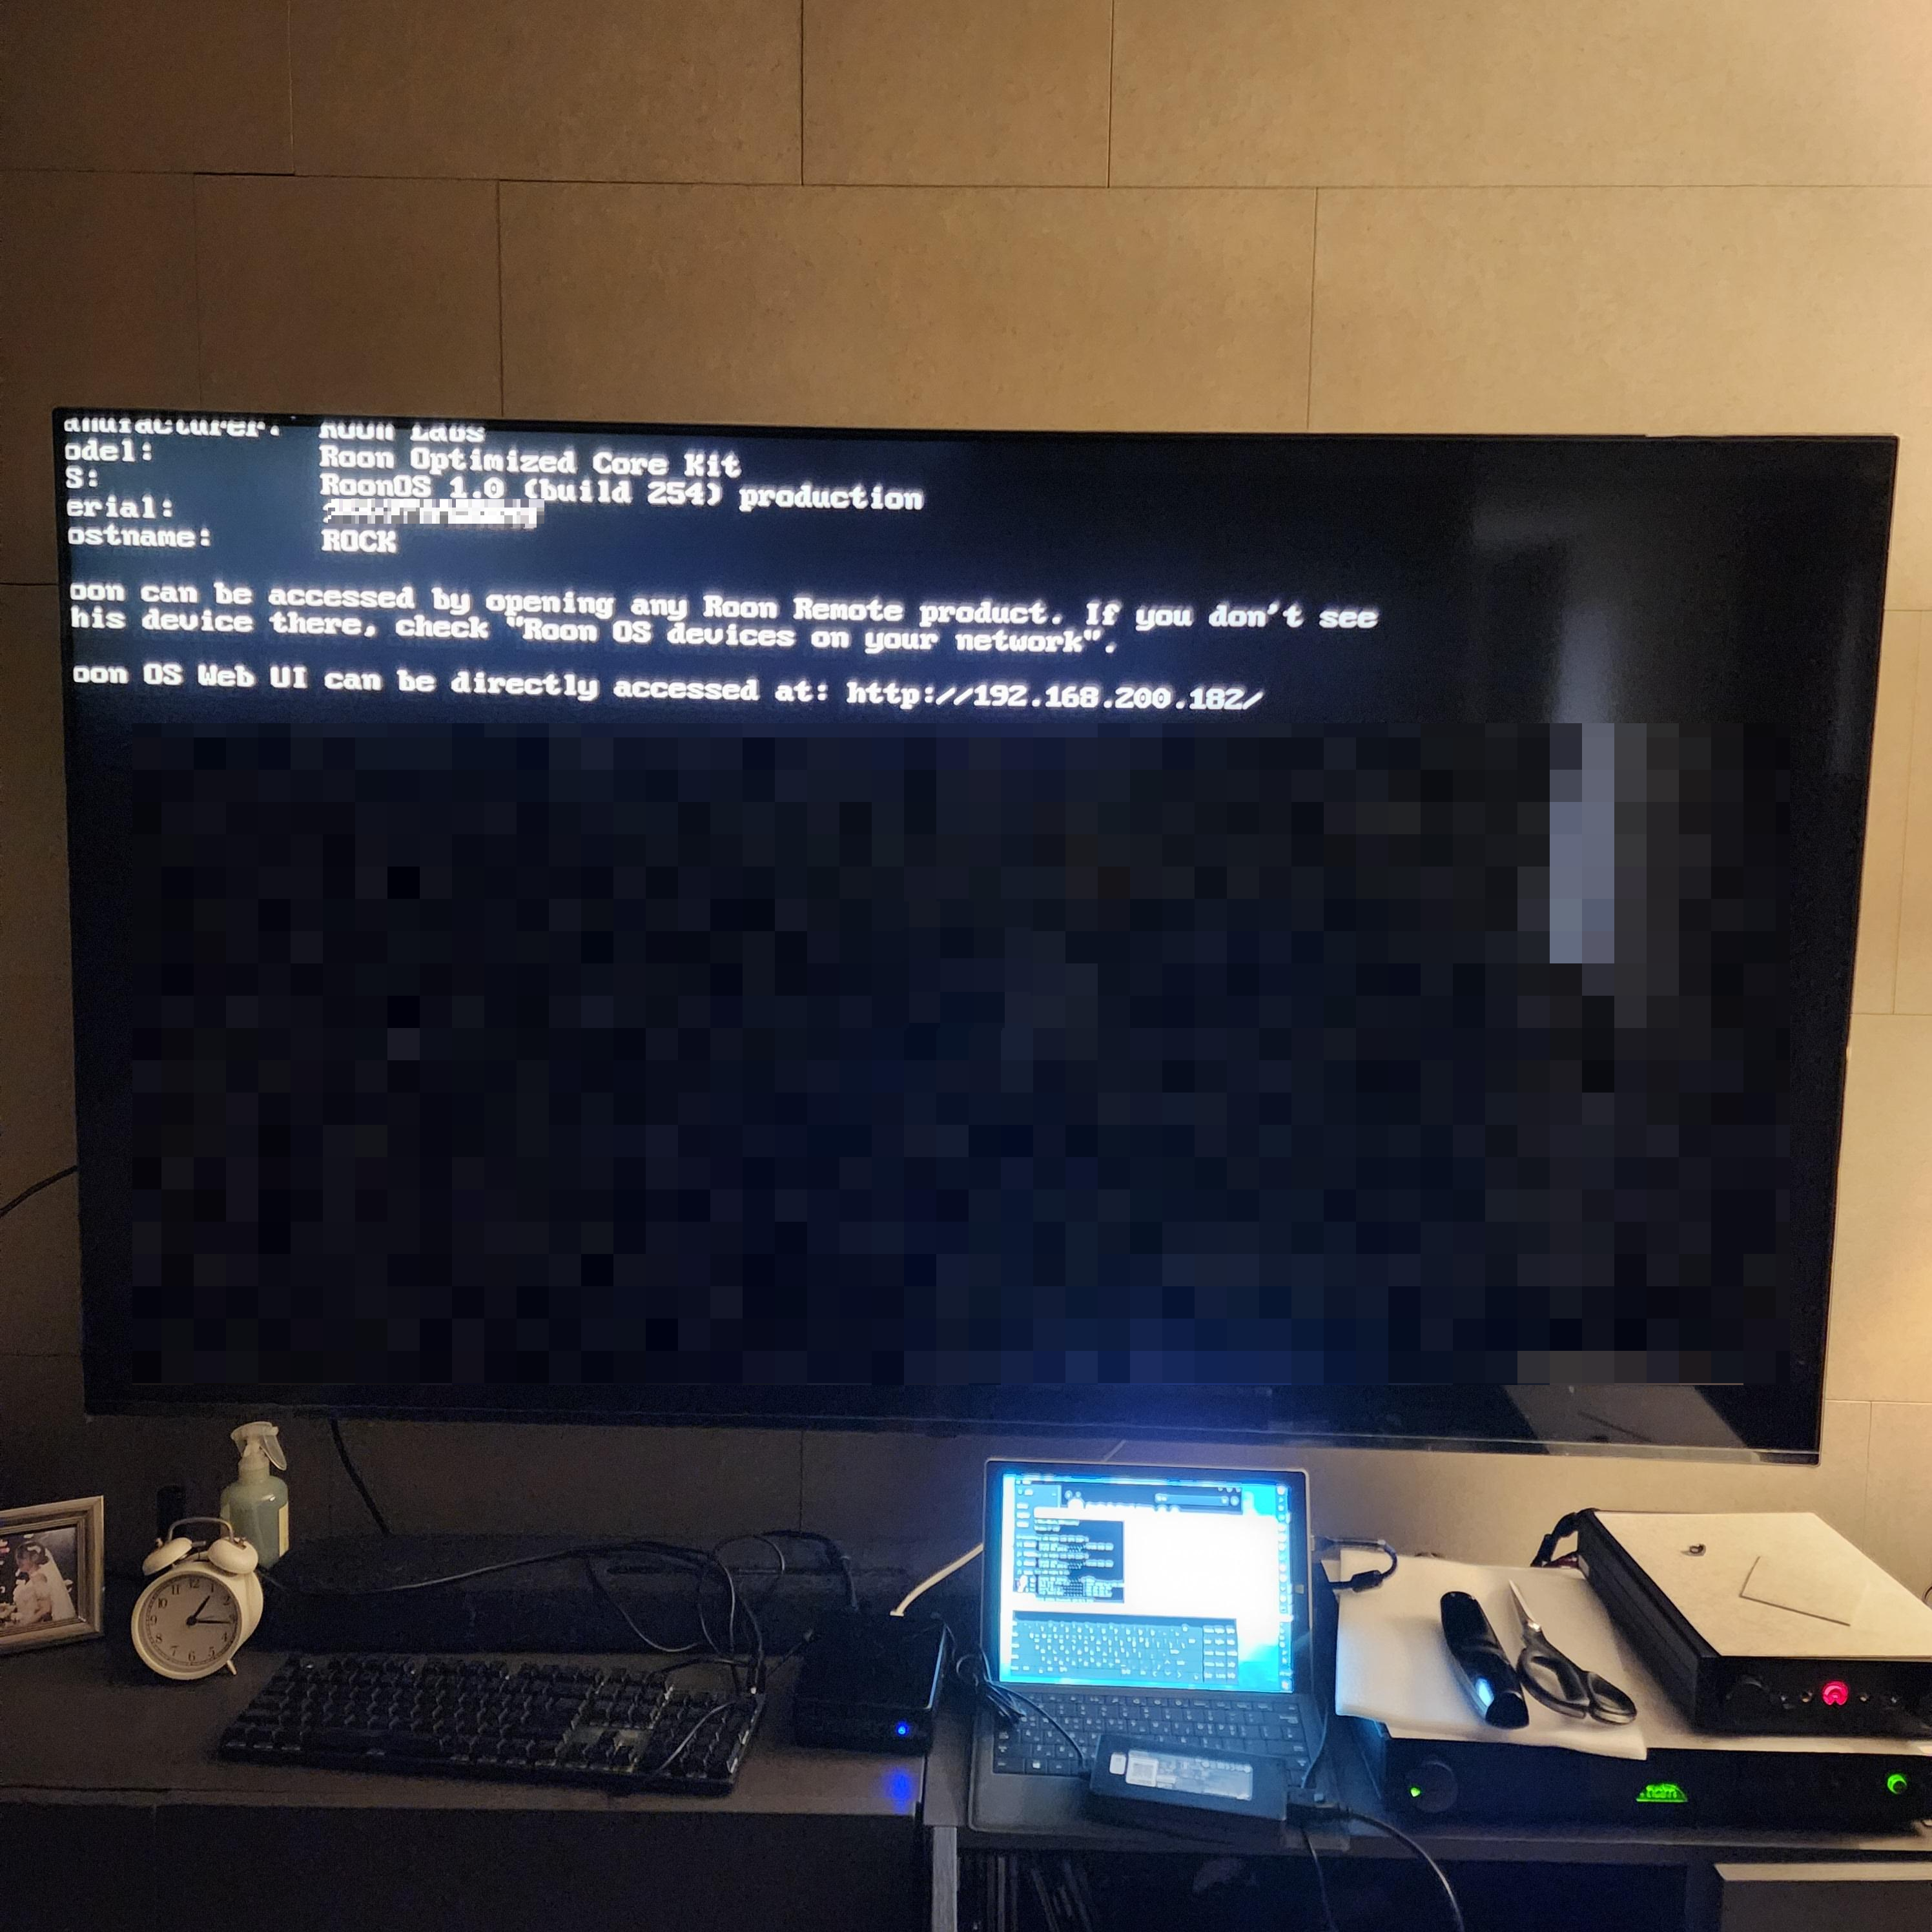
6. Installing Codecs and Setting Up For First Run
그냥 실행해보았는데 작동은 하더군요 하지만 제대로 작동하려면 적절한 코덱을 설치해줘야한다니 마저 설치해줍니다.
[▼ 코덱설치하기 링크 ▼]
[IT Tip] Roon Rock(룬락) 설치하기 ③ 코덱설치하기
You must install the appropriate Codecs for ROCK to function properly. You can do this by following the instructions here or by visiting the web UI listed on the console of the machine, click on the "`?`" next to `"Missing Codecs"` and follow the instructions. Be sure to also confirm that ROCK is on the latest version. You can trigger ROCK to update by selecting Reinstall from the Web UI.
ROCK이 제대로 작동하려면 적절한 코덱을 설치해야 합니다. 여기의 지침을 따르거나 컴퓨터 콘솔에 나열된 웹 UI를 방문하여 '"누락된 코덱"' 옆에 있는 "'?'"를 클릭하고 지침을 따르십시오. 또한 ROCK이 최신 버전인지 확인하십시오. 웹 UI에서 다시 설치를 선택하여 업데이트하도록 ROCK을 트리거할 수 있습니다.
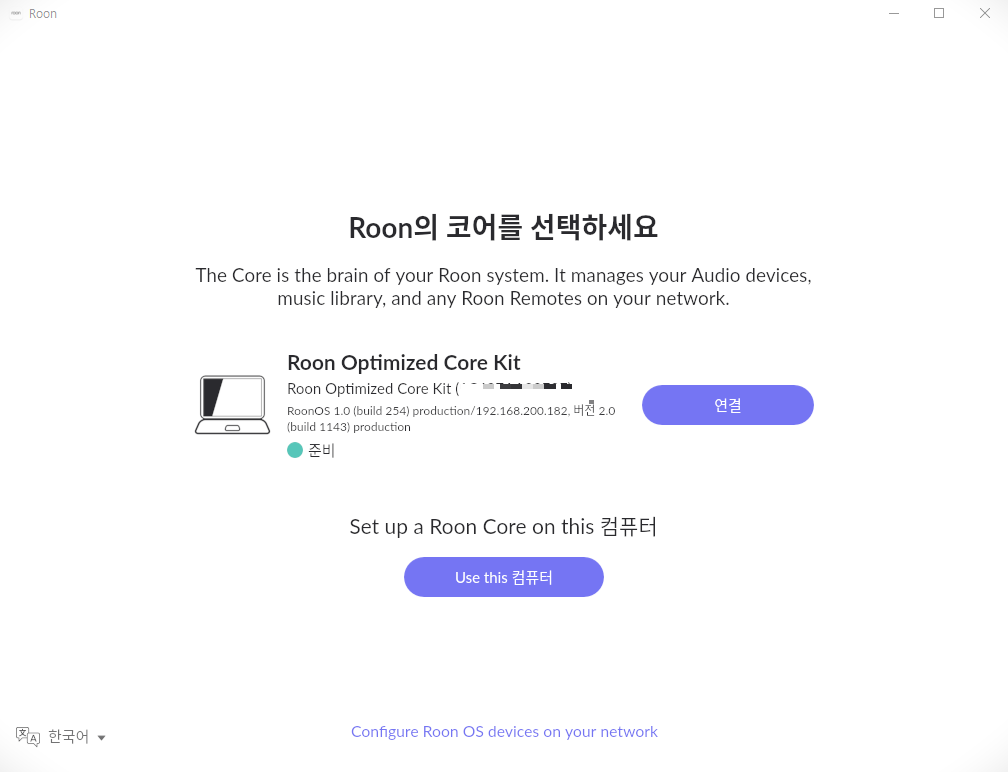
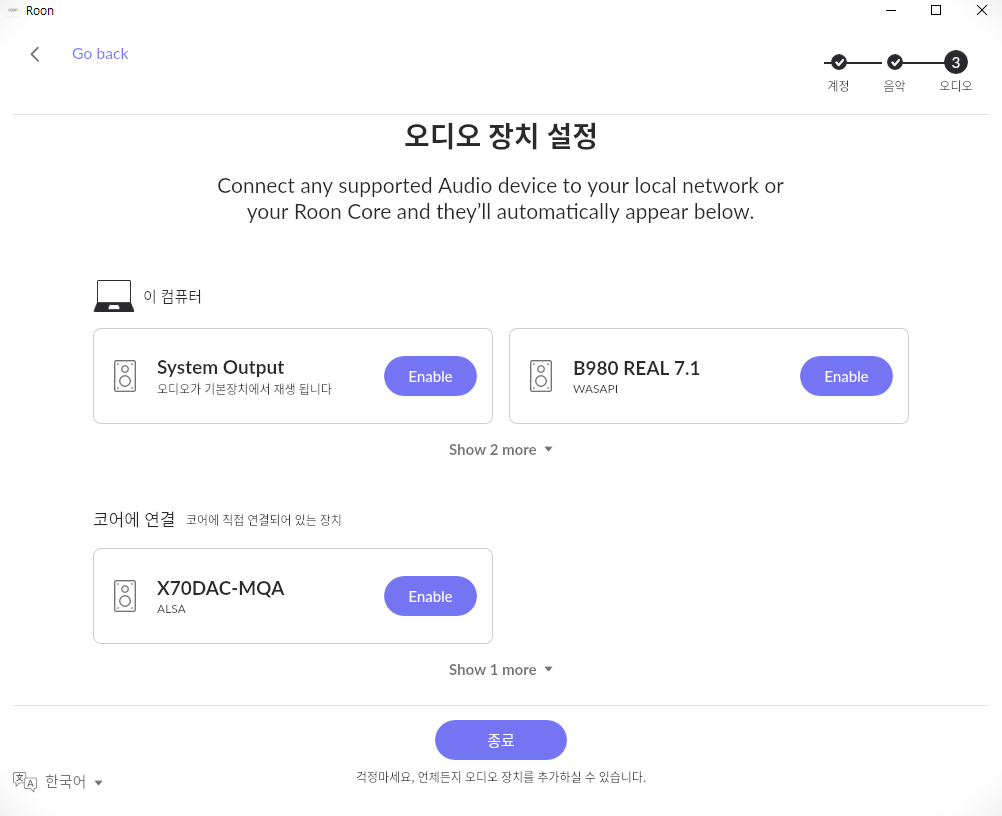
7. Using ROCK
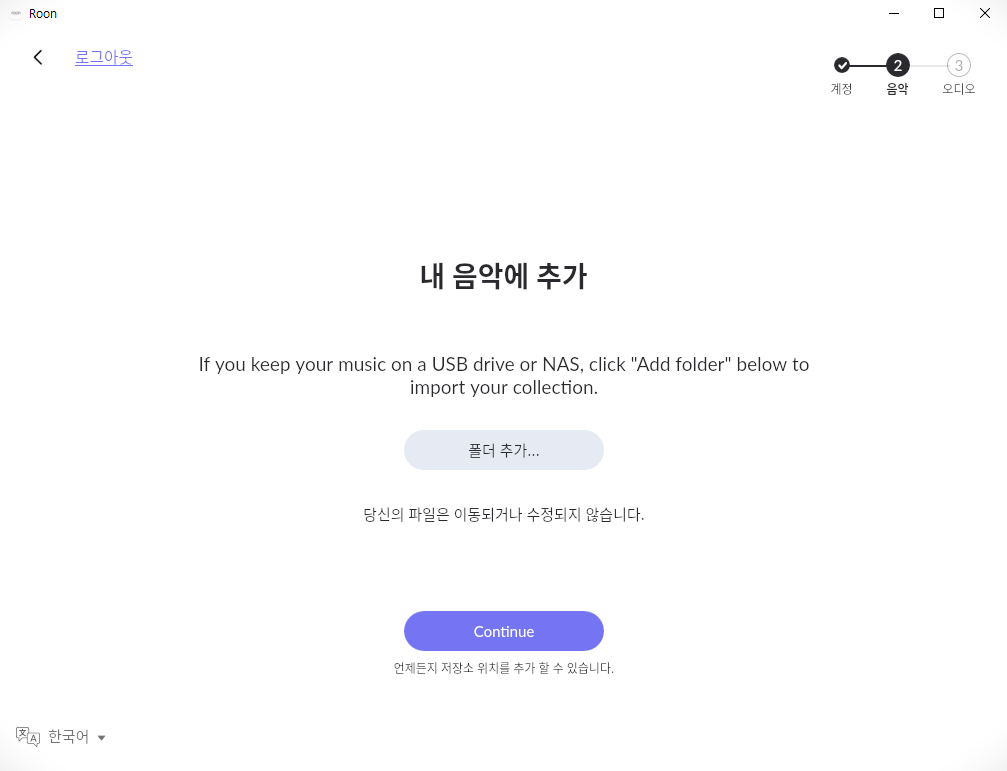
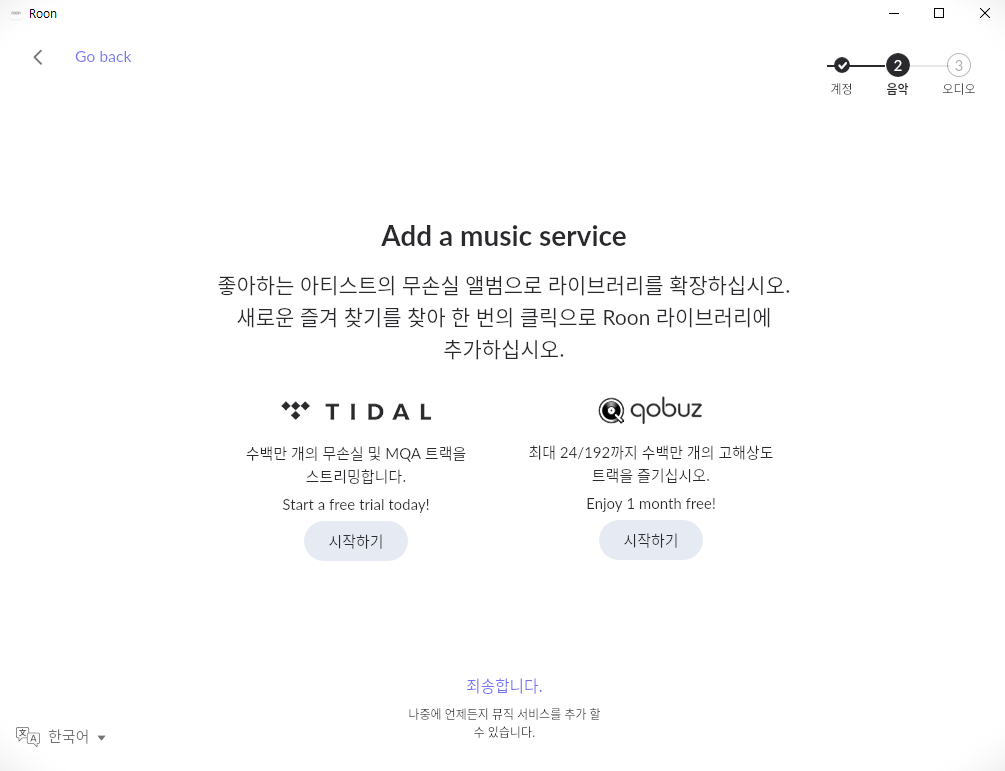
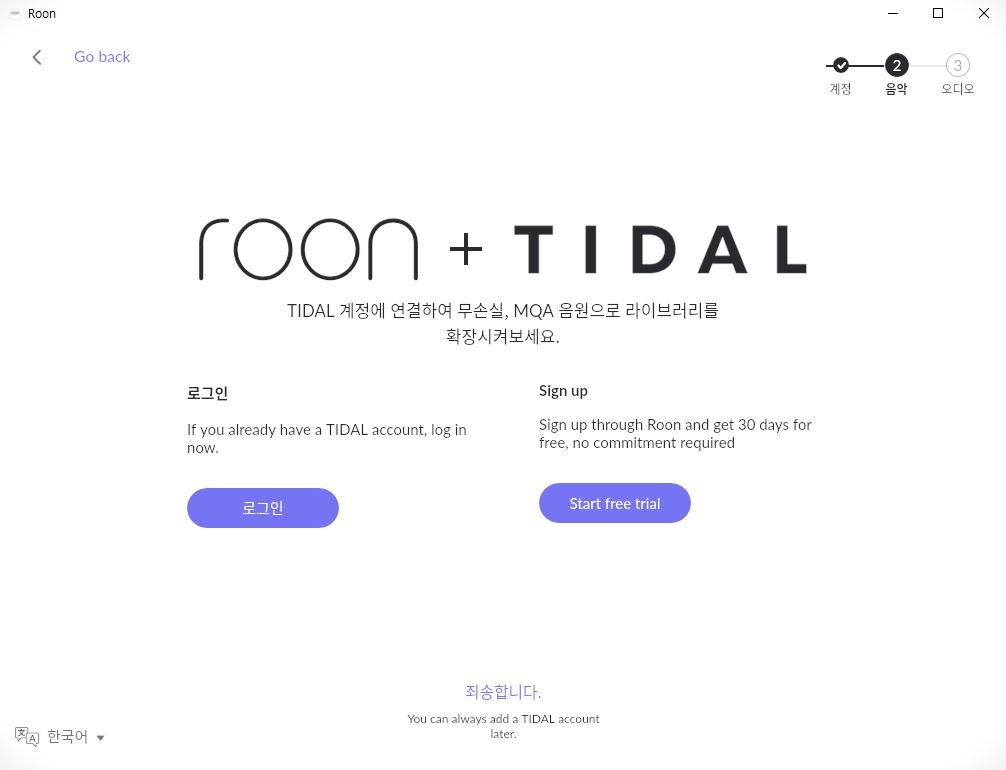
룬락을 즐기시면 되셔요 :) Tidal, Nas, 개인음원등 음원소스로 들으시면 됩니다:)
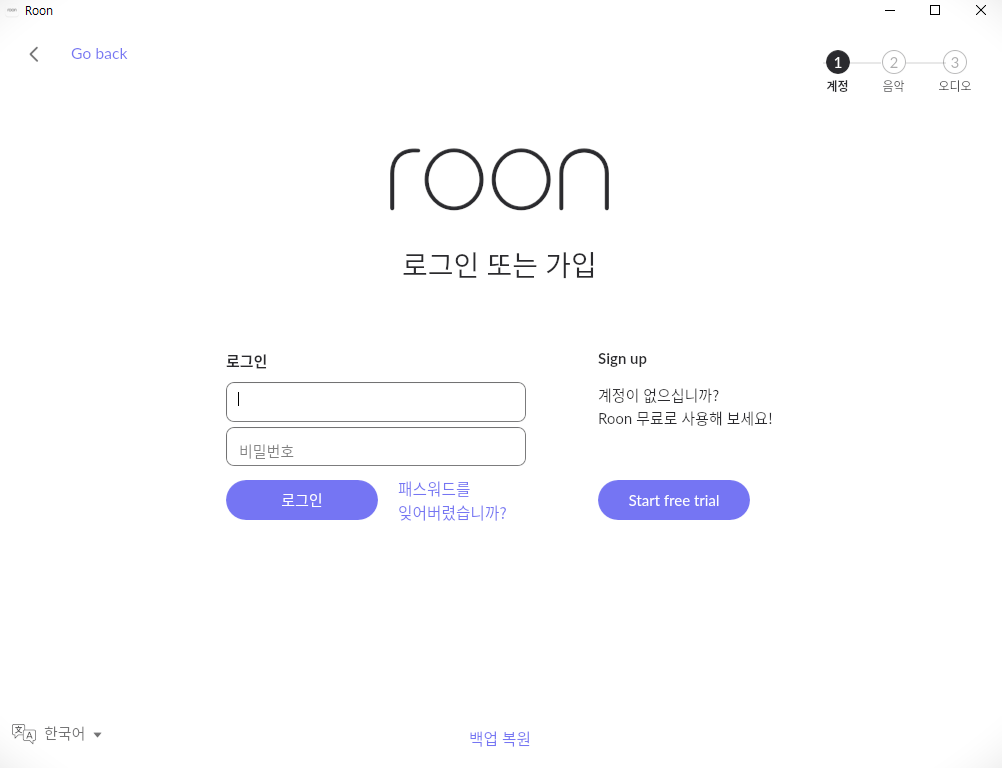
1. Start Roon Remote or Roon
2. You will need to connect to ROCK by selecting it from the "Choose Your Core" screen
3. Note: If you've already used Roon before with another Core, you will probably want to migrate your Roon database to ROCK. You can find information about migrating your database to ROCK here
4. If you're having trouble, try clicking "Disconnect" in Settings, or "Select A Different Core"


'일상 > IT Tip' 카테고리의 다른 글
| [IT Tip] 엑셀오류 / 수식이 해당 자체 셀을 직접 또는 간접적으로 참조하는 순환 참조가 하나 이상 있습니다. 이로 인해 순환 참조를 올바르게 계산하지 못할 수 있습니다. 해당 참조를 제거 또.. (1) | 2024.01.19 |
|---|---|
| [IT Tip] 발레나엣쳐(balenaEtcher)로 OS 부팅디스크(SD &USB) 만들기 (0) | 2023.01.17 |
| [IT Tip] Roon Rock(룬락) 설치하기_ffmpeg 코덱설치하기 (0) | 2023.01.03 |
| [IT Tip] 핸드폰에 우회나 설치파일 없이 타이달(Tidal) 다운받는 방법 (0) | 2022.12.26 |
| [IT Tip] ROON(룬) 가입하기 & 이용권 결제 (평생이용권) (1) | 2022.12.24 |


댓글